| Step 1
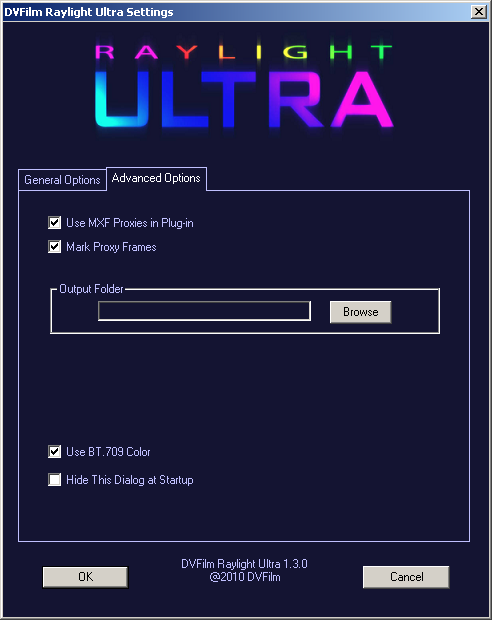
AVC-Intra files are importable starting with Ultra 1.2. Only the Vegas 9 or later plug-in has this feature. Go to the Raylight Control Panel/Advanced Options tab. Make sure Use MXF Proxies in Plug-in is check on. Start Vegas Pro 9 or later. NOTE: You can get about 2x-3x faster playback of the AVC-Intra format by getting the PowerPack I upgrade to Rayight Ultra. See dvfilm.com/PPI for details. |
 |
||||||||
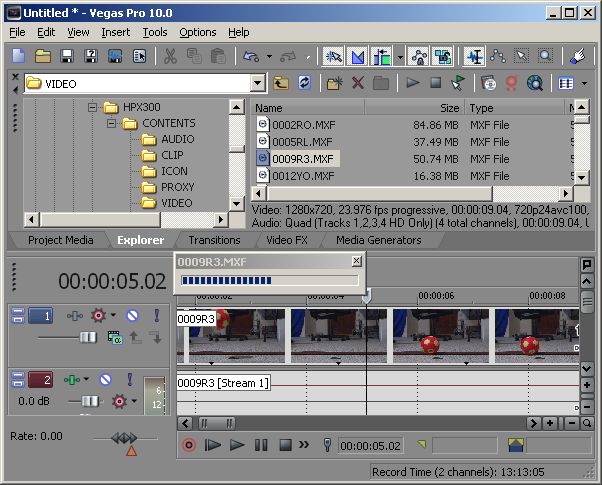 |
Step 2
Import AVC-Intra files the same way you import DVCPROHD P2 MXFs using Vegas Explorer or File->Import->Media. When AVC-Intra files are placed in the timeline, a proxy for real-time editing will automatically be created, but you can still edit as usual while this the proxy is being created. A progress dialog appears on your screen showing the progress of the conversion. When the proxy is finished, you will have real-time editing. |
||||||||
 |
|||||||||
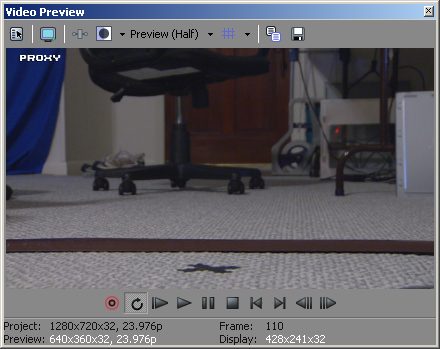
| If the 'Mark Proxy Frames' is check on in the Raylight Control Panel/Advanced Options, the word "PROXY" will be displayed in the top left of the video preview to indicate the proxy is being used. | |||||||||
| If you want to see the original source frames, change the Vegas Preview to Best (Full). The "PROXY" mark will disappear when you play and the original frames will be displayed. | 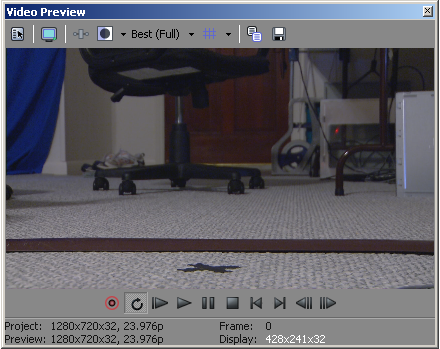 |
||||||||
| Return to Raylight Ultra 1.3 Tutorial Index | |||||||||