| Step 1
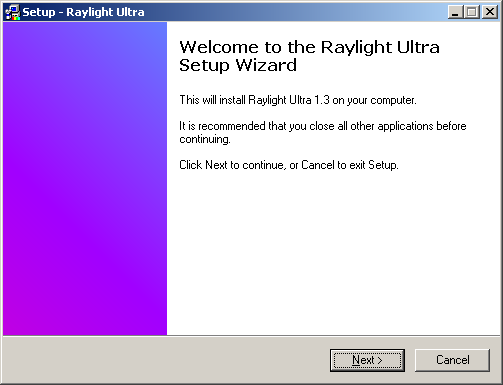
Download the Raylight Installer to your desktop or work drive. The archive will have unique name of randomly selected letters. Double-click on the installer program and you will see the dialog at right: Also, check out our Downloading, installing & activating video tutorial here. |
 |
|||||||||||||||
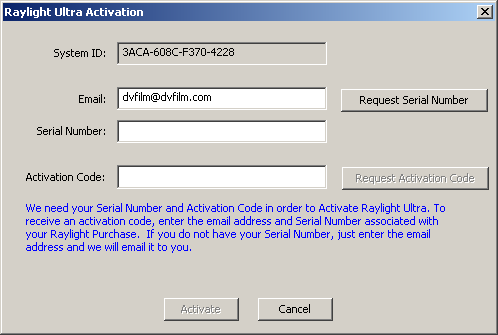 |
Step 2 After installing, you will see the product activation dialog, shown at left. Fill in your email address and click 'Request Serial Number.' The serial number will be emailed to you. Fill in the serial number in the activation window and click 'Request Activation Code.' The activation code will automatically be filled in. Click 'Activate' to activate your software. Note: the demo version of Ultra does not require activation. If the computer you are activating is not on the internet, then from an internet computer, go to dvfilm.com/activate to manually activate. |
|||||||||||||||
| Step 3
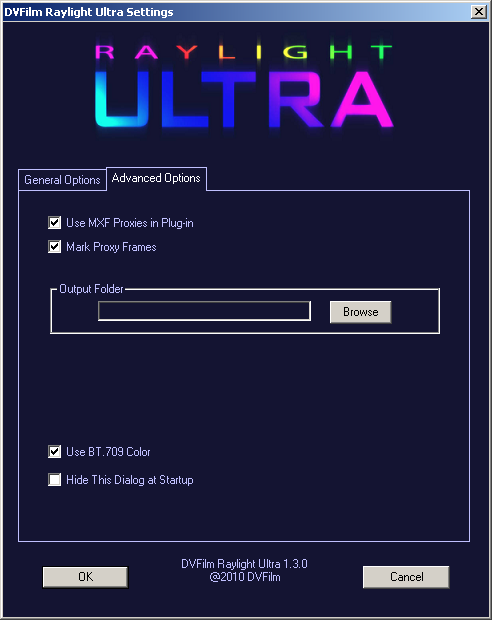
The the Raylight control panel shown at right will appear. Choose your settings: General Options Raylight Ultraviolet (Max Quality) for final rendering or stepping through individual frames at high quality. Not guaranteed real time playback for older computers. Raylight Red (Low Resolution Proxy) for low cost computers with one media hard drive. Approximately 1/4 resolution. "Proxy" means a temporary substitute for the original frames. Regardless of what setting you choose now, you can always switch between Ultraviolet and Red mode. Output Folder
Default System
Audio
Slate
Additional Options
Click OK to save the settings. Right-click the purple ball icon in the system tray to make the Raylight Quality Control Panel to appear (see at right). This control panel will stay on your desktop and overlay your video editing system screen. If you use RED, when you render the final version of your movie, you will always select VIOLET before rendering. |
 |
|||||||||||||||
Raylight RED (Lo Res Proxy) for editing with low-cost computers. Approximately 1/4th resolution. |
||||||||||||||||
|
Advanced Options
Use MXF Proxies in Plug-in
Mark Proxy Frames
Output Folder
Use BT.709 Color
Hide This Dialog at Startup
|
 |
|||||||||||||||
| Return to Raylight Ultra 1.3 Tutorial Index | ||||||||||||||||