|
Raylight Ultra 1.3 allows you to export a P2 card image directly from Sony Vegas Pro 9 or 10. This complete P2 Card image can be written to your harddrive or directly to a P2 camera or P2 Card reader through a USB 2.0 port. For direct P2 export without recompression, see Ultra documentation, section 11.
|
||||||||||||||||||||||
|
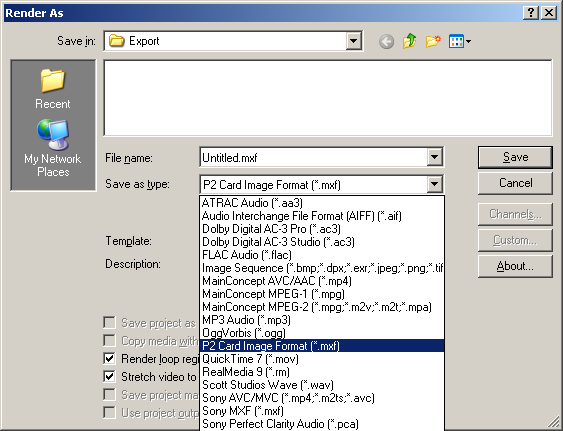
Step 1 Select the work area of the timeline you wish to export and go to File>Render As. Raylight Ultra 1.3 has setup a new Save as type named P2 Card Image Format (*.mxf) Choose this Save as type to export a P2 Card. Choose the Save in location. We'll use the Export folder on the Desktop for this example. |
 |
|||||||||||||||||||||
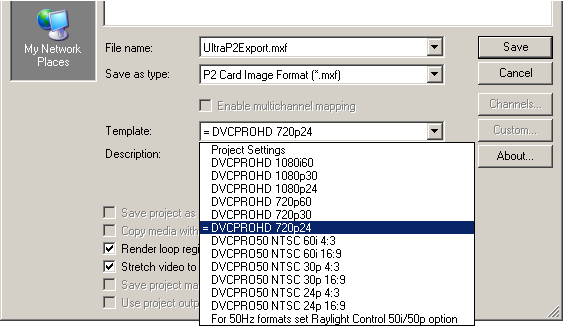 |
Step 2 Type in a file name. We'll use UltraP2Export. Raylight Ultra has installed all the possible templates for the different resolutions and framerates of DVCPROHD and DVCPRO50*. Select which one best fits your project settings and/or needs. We'll use DVCPROHD 720p24 since that is what our project settings are for this example. Notice the '=' symbol next to the DVCPROHD 720p24. This denotes the best match of template for our project. If you need 50Hz formats set the Raylight Control Panel to the 50i/50p option. 60i/60p for 60Hz formats. *Power Pack II will allow AVC-intra export. |
|||||||||||||||||||||
|
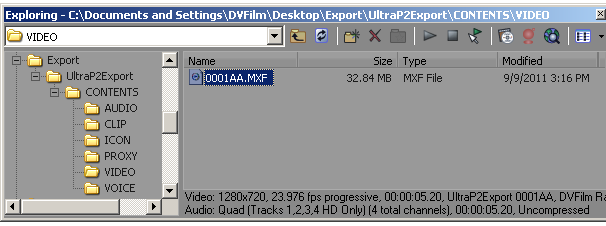
Step 3 Click Save to render. Vegas will render a folder named UltraP2Export. Within that folder will be a Contents folder and Lastclip.txt. Within the contents folder will be the 6 folders that make up the P2 card structure: the Audio, Clip, Icon, Proxy, Video and Voice folders. Inside the Video folder, there will be a 0001AA.MXF video file. The other P2 files, the 4 audio mxfs, XML and BMP, will be in the designated folders with the same name. |
 |
|||||||||||||||||||||
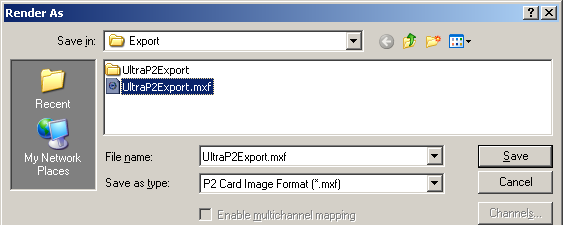 |
Rendering Additional MXFs to same P2 Card If you need to render multiple MXF files to the same P2 card, repeat 1-2 and save to the same file name as previously which is UltraP2Export.mxf. NOTE: The mxf that Vegas writes to the main folder where the UltraP2Export folder is located is a system file Ultra writes and uses. This is not a functioning MXF and is only for use by Ultra. |
|||||||||||||||||||||
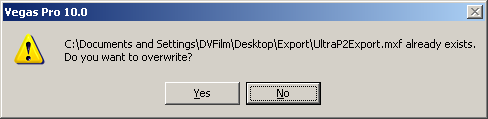 |
After clicking Save, a Vegas prompt will ask if you are sure you want to overwrite the file that already exists. Click Yes. Don't worry, this will not overwrite the existing P2 card. |
|||||||||||||||||||||
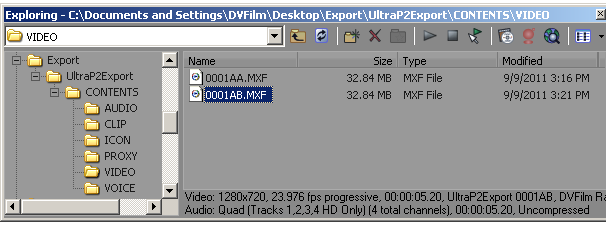 |
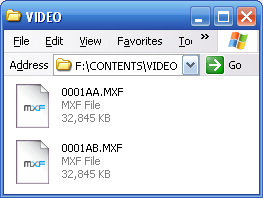
Vegas will render the new P2 MXF file to the UltraP2Export/Contents folders and give the new file the 0001AB.mxf name. The Lastclip.txt file will be updated as well. Repeat the process as many times as needed. |
|||||||||||||||||||||
|
Step 4 After you have created your P2 cards on your harddrive, copy the contents folder and lastclip.txt files to your Panasonic P2 card using a connected camera or P2 card reader. |
||||||||||||||||||||||
|
Writing Directly to a P2 Card on a camera or P2 card reader Complete steps 1-3 above except choose the P2 card in the camera or P2 card reader as you Save in location. This will write the UltraP2Export folder to your P2 card where it will exist with the default Contents and Lastclip.txt file of that P2 Card. |
 |
|||||||||||||||||||||
 |
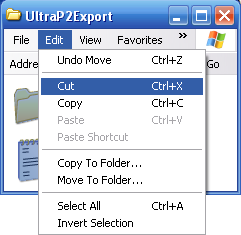 |
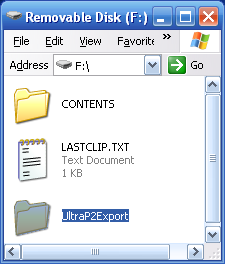
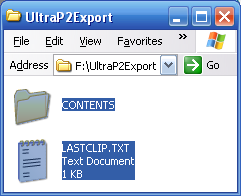
Go into the UltraP2Export folder and select the Contents folder and Lastclip.txt file.
EDIT>CUT then go to the root of the P2 card and PASTE. |
||||||||||||||||||||
 |
||||||||||||||||||||||
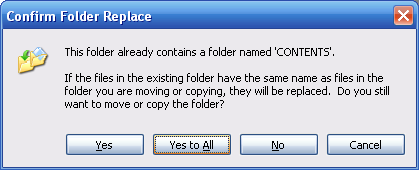
| A prompt will ask about overwriting the existing Contents and Lastclip.txt.
Click Yes to All. |
||||||||||||||||||||||
 |
Now your exported P2 MXFs will be in the root Contents folder of your P2 card and can be viewed on the camera.
You can leave the empty UltraP2Export folder or erase it. |
|||||||||||||||||||||
| Return to Raylight Ultra 1.3 Tutorial Index | ||||||||||||||||||||||