For the release version of Raylight, the archive will have unique
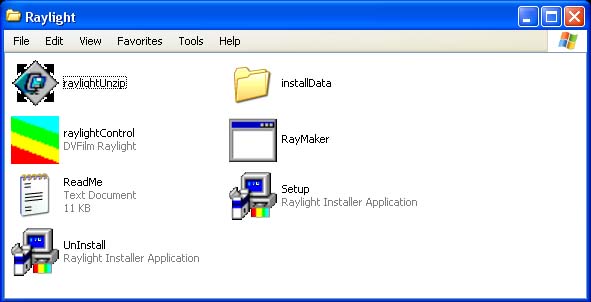
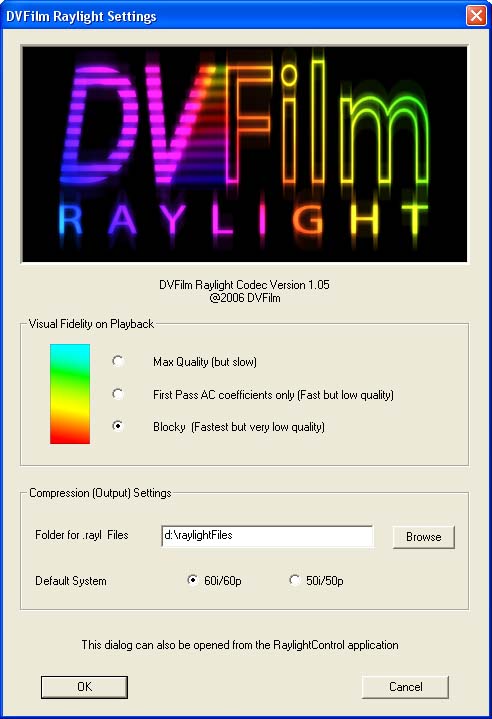
name of randomly selected letters. Step 4: Double click on raylightControl to start the Raylight control panel. The dialog shown at right
will appear. Choose your settings: Visual Fidelity on Playback Set to BLUE (Max Quality) for final rendering or stepping through individual
frames at high quality. Not for real time playback. Set to YELLOW (First Pass AC coefficients only) for fast dual- or single-core
(Pentium 4, Athlon 64, 3GHz or better) computers with striped
(high performance dual disk) RAID drives. Set to RED (blocky) for low cost computers with one media hard drive. These settings can be changed very easily later on as you edit
the movie. Compression (Output) Settings Folder for .rayl Files - Click the "Browse" button to create or
select a folder on your media hard drive to hold the Raylight
preview files or rendered video. Do NOT use your system drive
(usually drive C), as it will be too busy providing data for the
applications and operating system to provide smooth playback. Default System Click OK to save the settings. The small Raylight Control Panel
with then appear (see at right). This control panel will stay on your desktop and overlay your
video editing system screen. You will use it while editing to
change the Raylight quality settings during playback. When you render the final version of your movie, you will always
select Raylight Blue. Raylight YELLOW (First Pass AC coefficients only) for fast dual- or single-core
(Pentium 4, Athlon 64, 3GHz or better) computers with stripe RAID.
Approximately 1/2 resolution. Raylight RED (blocky) for low cost computers. Approximately 1/8th resolution.
|
|||||||||||||||||||||||||||||||||||||||||||||||||||||||||||||||||||||||||||||||||||||||||||||||||||||||||||||||||||||||||||||||