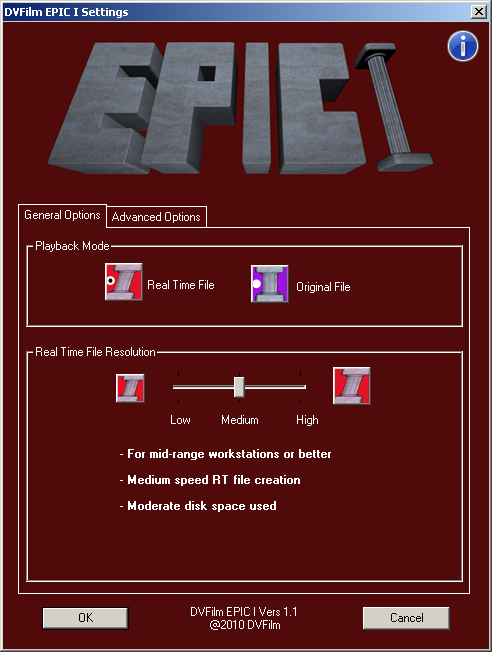
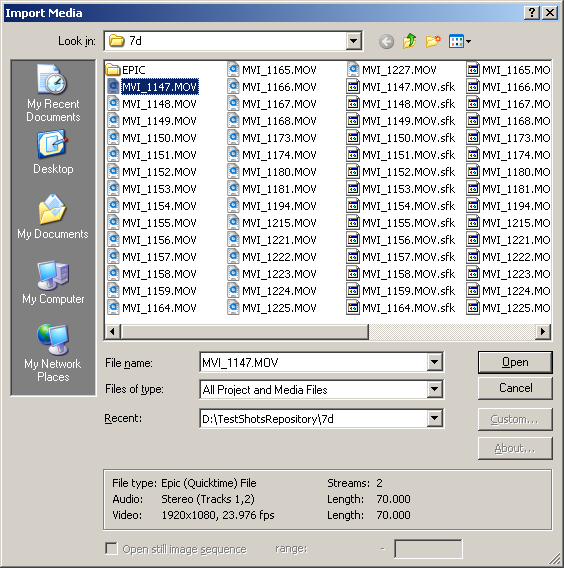
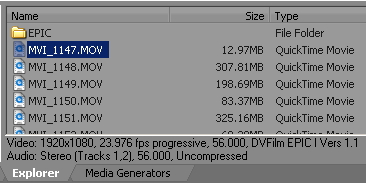
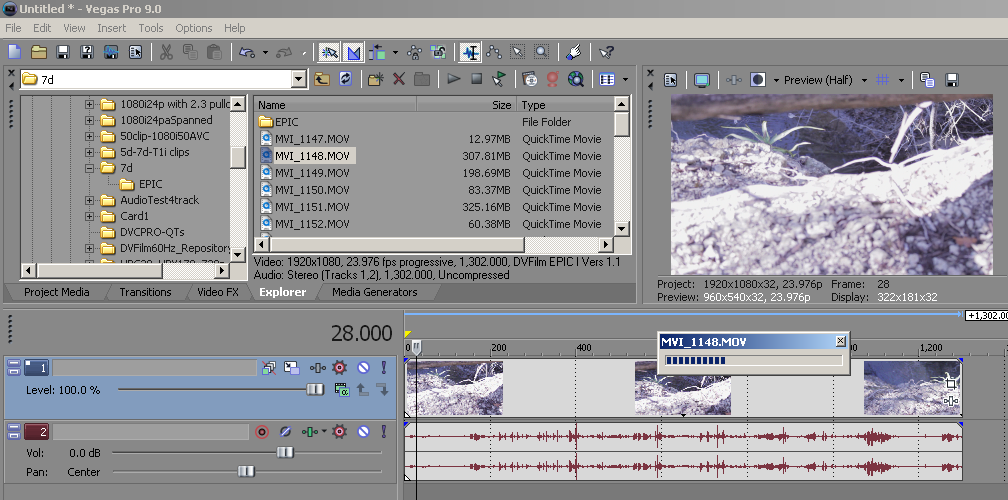
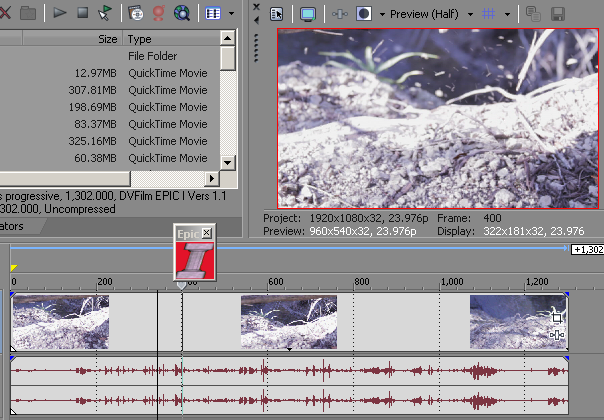
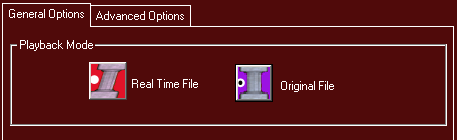
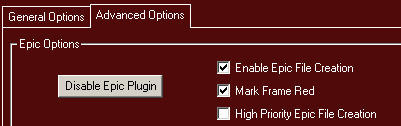
1. Install and Configure Epic I Before you install Epic I, you should have Vegas 9 installed and closed. Below are the default settings for the General and Advanced options of Epic I. These will work for most users. If you need to adjust the settings do so now and click OK to save the changes. Any of the Epic options can be changed after editing has begun, however the 10-bit YUV mode only takes effect when Vegas is restarted. 2. Import DSLR h.264 Files into Vegas Set your Vegas project settings to match your clips, then use File->Import->Media or the Vegas Explorer to locate the DSLR h.264 files and import them into Vegas. If the Epic plugin is installed and enabled, when you click on a Quicktime file, the frame size, frame rate, and other information will be displayed in the Import Media Window or in the Info Box if using Vegas Explorer as shown below: The DSLR h.264 files may also be dragged directly from the Explorer to the timeline, or from the Project Media window. When a DSLR h.264 clip is dragged to the timeline or played in the Trimmer, Epic will begin creating a Real Time file for that clip in the background. A small progress bar window will open. You can edit as normal while the RT file is created and get realtime playback once it is finished. If you click Yes, the queue for the RT file creation will be cleared and no RT files will be created. If you click No, the window and progress bar will close, but RT files will continue to be made. When Epic finishes making the RT file for the clip it is working on, a new progress bar will open for the next clip. Once your Epic RT files are created, you can get realtime playback on the timeline in Vegas. With Epic set to Real Time playback mode (Red Column) by using the Epic Control Panel or the Quality Column Window, Vegas will playback the Epic RT Files. With the Mark Red feature turned on, a red border around the frame indicates that the RT file is indeed being used. 5. Exporting Video Exporting video (WM9, Uncompressed, MPEG2) from the timeline works the same as normal rendering in Vegas. Presently, however, you cannot export a Quicktime movie file from the timeline when Epic is enabled. In the Epic control panel, switch Epic to Original File playback mode or Ultraviolet mode so you can export from your original full quality h.264 files. The ability to export directly to Quicktimes will be added to a later version of Epic.

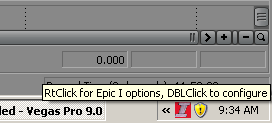
Open Sony Vegas. Epic I will start automatically. If it does not start, you can open it using the Start Menu > Programs > DVFilm > Epic I. If Epic I is already running, you can also access it by clicking on the Epic Column in the Notification Area of the taskbar by the clock.
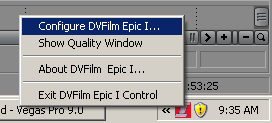
The Show Quality Window option will open just the Playback Mode selector (to right) so you can switch between RT Files and Original Files without opening the Epic control panel.
![]()
![]()
3. Edit with DSLR H.264 files on the Timeline
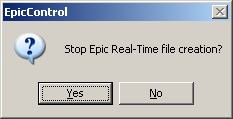
To stop the RT file progress, you click the X in the top right corner of the progress bar window. A prompt will open (to right).
4. Playback from Epic Real Time Files
Then in Vegas, go to File > Render As and select which format you want to render to.
If you need to render a Quicktime File, our recommended workaround is to export an Uncompressed AVI from Vegas. Use Quicktime Pro to export a Quicktime file from the AVI. If you don't have Quicktime Pro, you can use the DVFilm Maker demo File>Export feature to convert without a watermark.

In the Epic control panel > Advanced Options tab under the Render Options, you can select to export with the 10-bit YUV mode for a higher quality export.
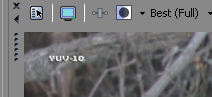
The Mark YUV mode will put a 'YUV-10' watermark in the top left of the image to let you know that 10-bit YUV mode is working. Disable the Mark YUV mode on final export.